A custom PC build
In which we build a powerful computer for general office use which can support up to 4 monitors. (December 2013)
If you would like us to build you a custom PC for gaming, CAD design, graphical work or any other task for which off-the-shelf isn't good enough, then please contact us. Our custom computers are built in Lincolnshire and we supply to local areas such as Stamford, Oakham, Grantham and Peterborough and nationwide. All AJ Computing systems come with a full warranty.
The requirements for this particular build was simple: Build a powerful computer for general office use which can support up to 4 monitors.
You could buy a computer from trusted brands such as Acer or HP, but all of them to some extent trade off quality for bill-of-materials cost. And you could buy a decently-specced pre-built computer and upgrade it to sort the video requirements. But then would the chassis and cooling be adequate? You might be able to find a pre-built with a decent processor and RAM - but how about a decent spec hard drive as well? Moreover, will it void the warranty of a mass-produced system if you start adding parts?
This is where custom built systems come into their own: you can build to exactly the correct specification.
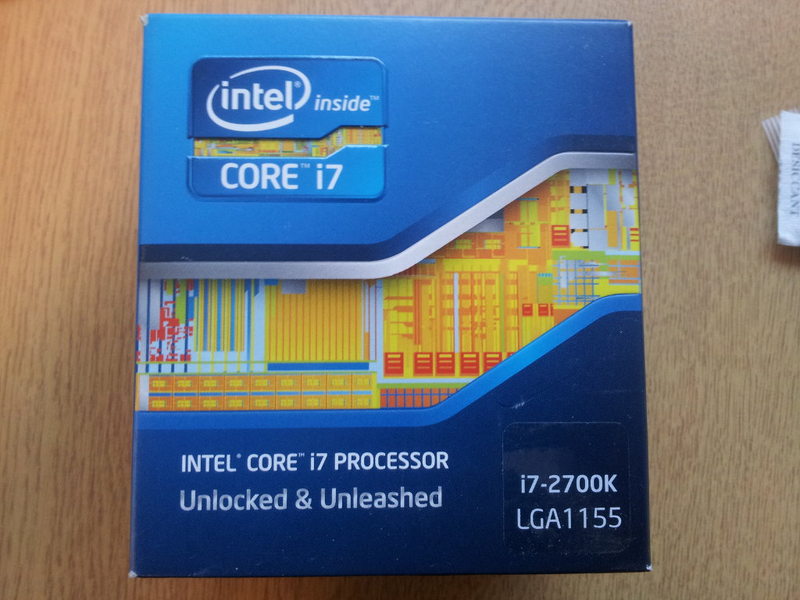
Processor choice was easy: it either had to be a high-end Intel Core i5 or an Intel Core i7. The budget allowed for the Core i7 i2700 (Socket LGA1155, 3.5GHz, 8MB Cache). Not the highest spec Core i7, but certainly no slug.
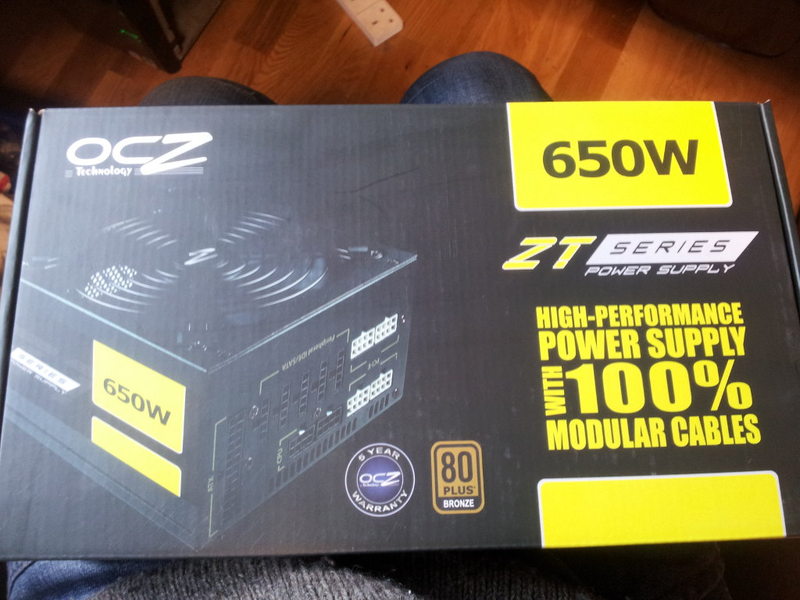
As all custom builders know, the PSU choice is critical to the stability of the build. There are lots of manufacturers out there and many of them will over-claim the output, have shady voltage stability and questionable reliability. On this occasion the OCZ ZT Series 650W (part #OCZ-ZT650W) was chosen - modular design and 80 plus bronze certification as you would expect at this price range, and backed up with a 5 year warranty.
The chassis is never something to be overlooked. I have seen many shoddy cases over the years and they are a real bug-bear for me. Aesthetics are a lesser consideration; for me, important factors are quality of the build, ease of installation and thermal design. Also, because I am the person assembling it, I appreciate the little things like no sharp edges, sides that go on nicely, bits that don't vibrate, the quantity and selection of screws/fittings that come with the package and so on.
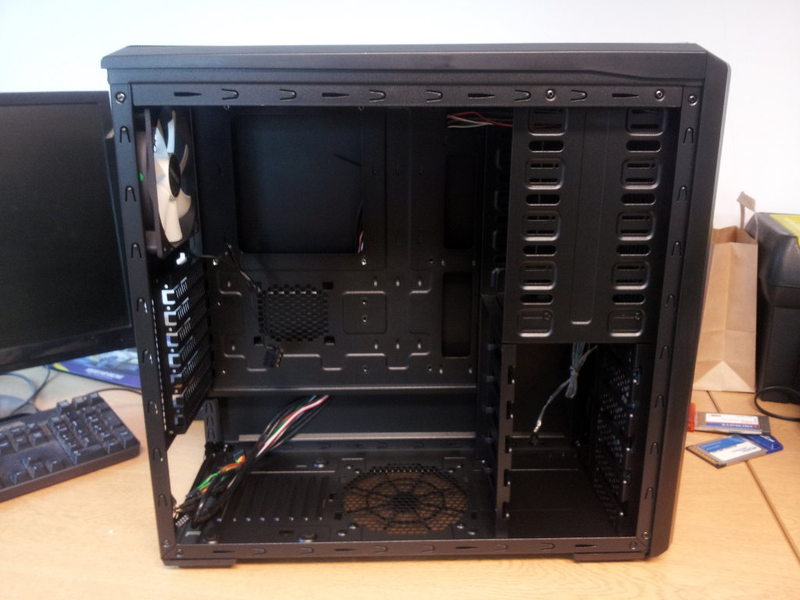
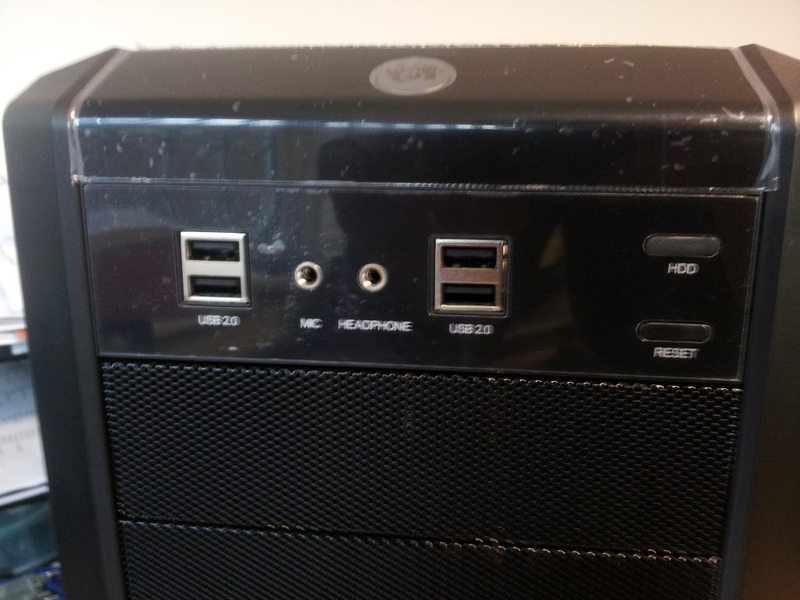
Unless space is a particular constraint I prefer the Midi Tower chassis size. As a regular builder of Zalman cases both past and present I opted for the Z9, which is packed with many features you would often expect from a more expensive chassis.
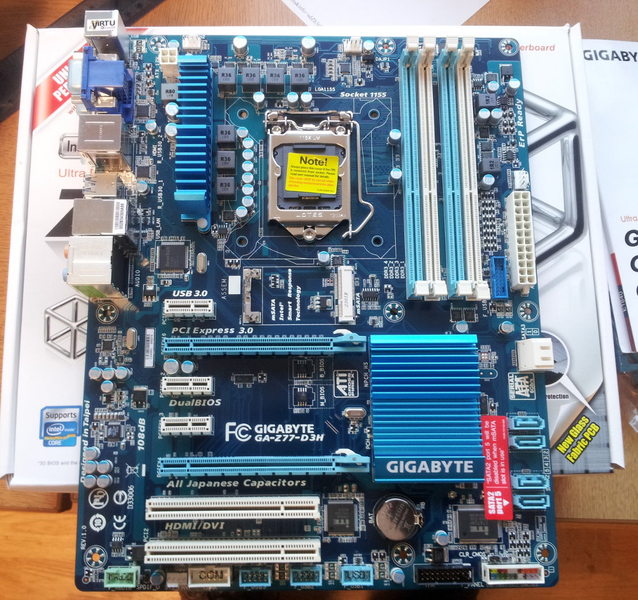
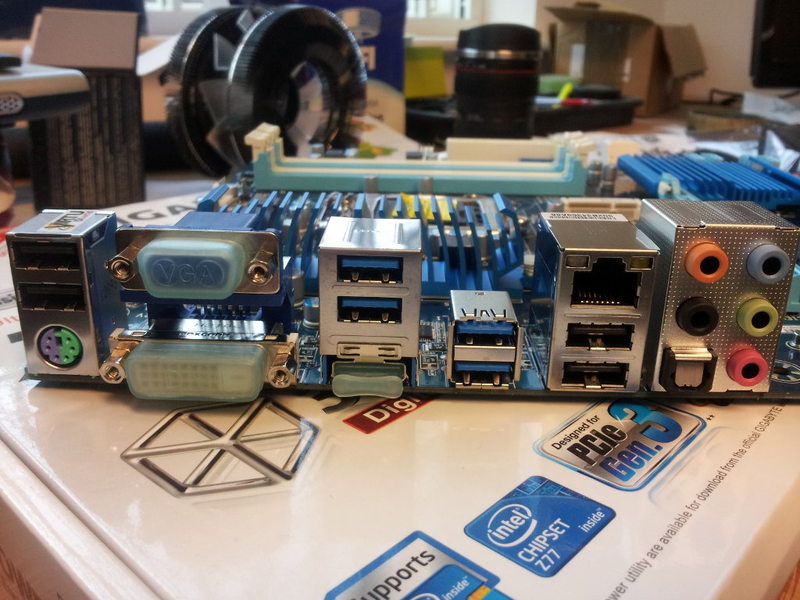
For the motherboard, reliability was the key here whilst of course supporting all the hardware required, with scope for upgrading in future. It had to be full size ATX; it would seem daft to put a Micro-ATX board into a Midi-ATX chassis but also it gives the client more scope for upgrading. The Gigabyte GA-Z77-D3H was selected as a tried and tested product, from a trusted manufacturer who I have used since the late 90s with very few issues. It is not the fanciest board available but it's certainly up to the job of this build.
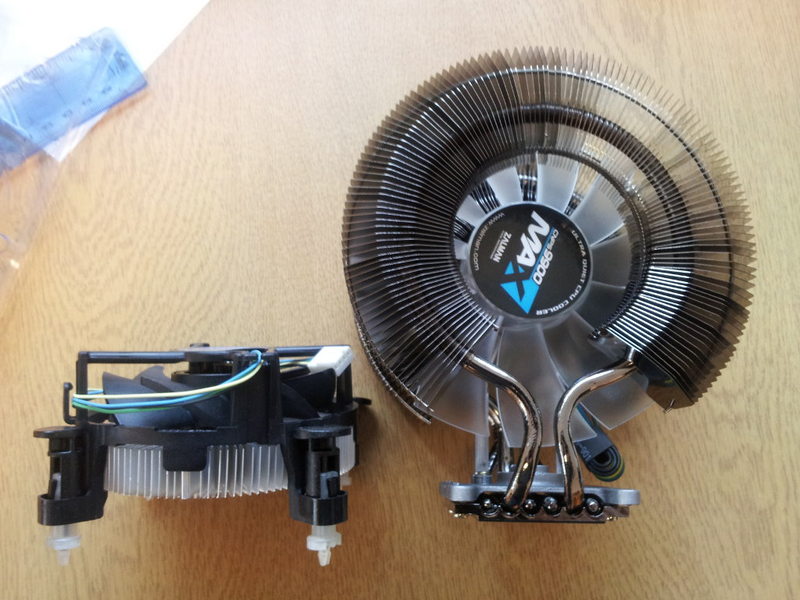
The cooler and heatsink combo shipped with the Intel i7 processor is perfectly adequate, but the client remarked that they wanted to keep noise as low as possible. Changing the CPU cooler is a clear choice. I selected the Zalman CNPS 9900 Max. Having used this same cooler and others of the "Super Flower" design, I am able to vouch for the quietness of operation (it shifts a lot of air and you can hear that, but most prefer that to the high pitch of a standard fan), good cooling capacity and strength of grip to the CPU. .
The Zalman is a bit of a beast, and some would say a little tricky to install. Here's the stock Intel cooler versus the Zalman:
And a bunch of parts to put together - some you will discard depending on the instructions.
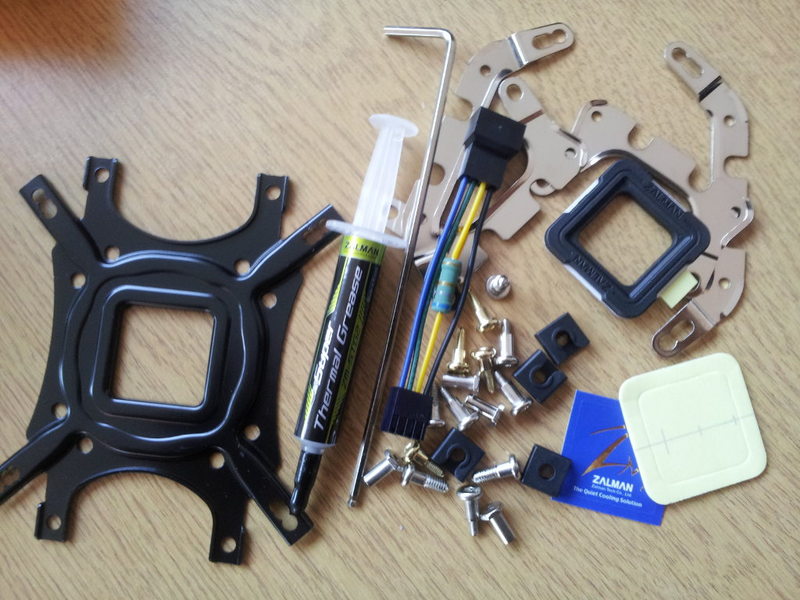
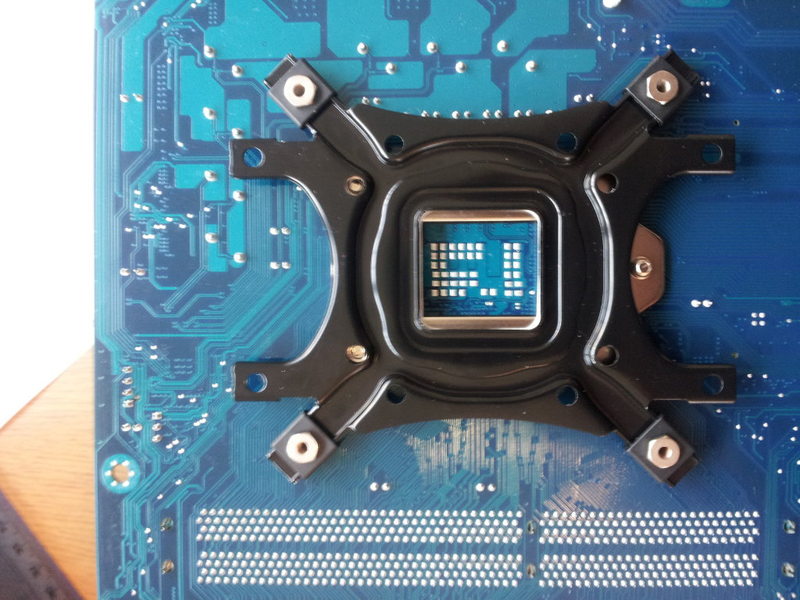
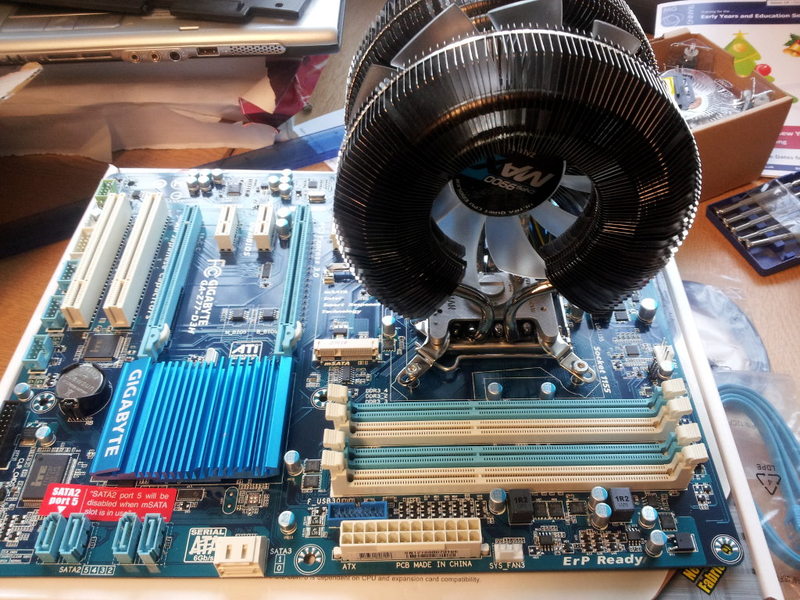
Essentially though, it is a case of fixing some clips to the main plate that goes on the reverse of the mainboard, pushing the supplied clamp into correct holes on the mainboard, apply heat transfer compound (plenty of which is supplied with the Zalman cooler) to the heatsink correctly and then clamping it all down. Not forgetting to install the processor of course!
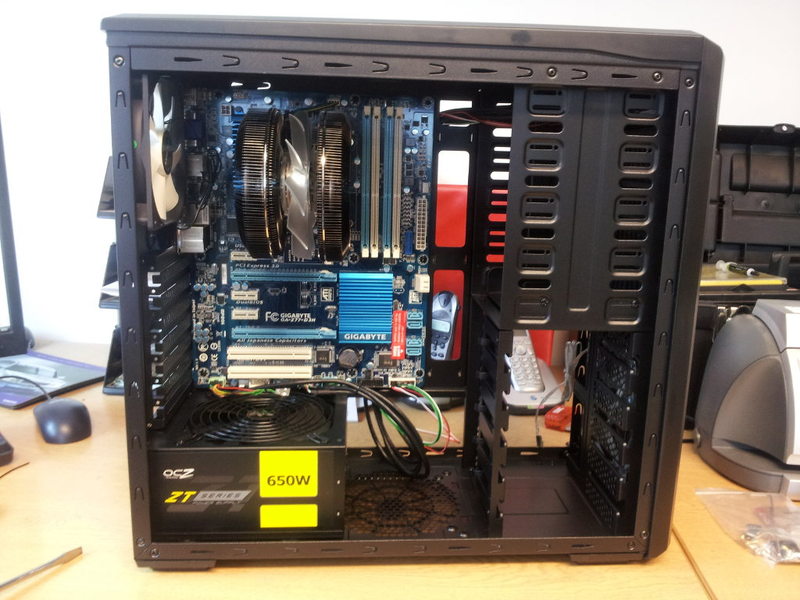
The Zalman Z9 is configured with the PSU at the bottom. This seems odd to those who have built computers "the right way round" in the past, but in many ways it does make sense. Installing a black PSU to a black case (also painted black inside, which many cases are not) with black screws clearly makes no difference to the performance, but is a nice touch to the build:
Hard Drive: A typical pre-built computer will have a standard SATA hard drive - a great cheap way of storing data. However as times has moved on it has been accepted that if you want a fast system Solid State Drives (SSDs) are the way to go, particularly for the operating system and programs. However, this client has quite a chunk of data, so a compromise was made - I installed a SATA hard drive as a secondary drive, because to get 1TB of storage on SSD would cost a small fortune.
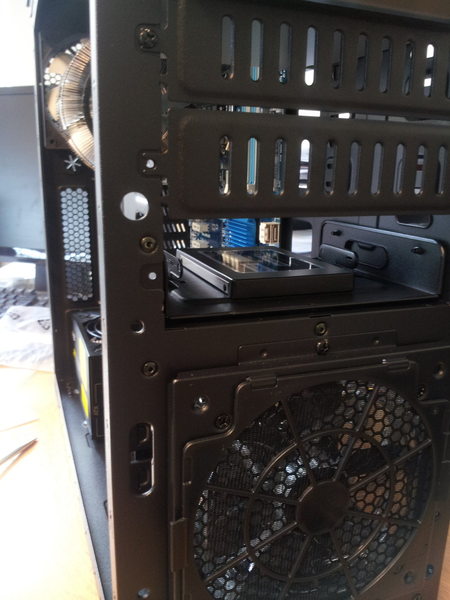
SSD drives come in 2.5" format, while a typical SATA hard drive for desktop computers is 3.5" wide, so to install the SSD Hard Drive some form of tray is often required. The Zalman Z9 already has the converter for 3.5" to 2.5" hard drives which is a bonus. OCZ are a leader in SSD drives and again chosen for their reliability. Here is the OCZ Vertex 3 tucked away in the chassis:
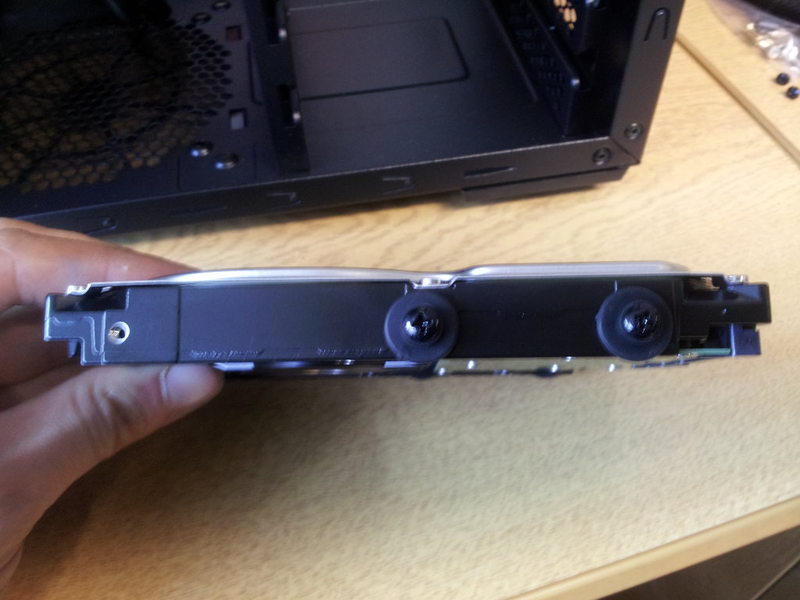
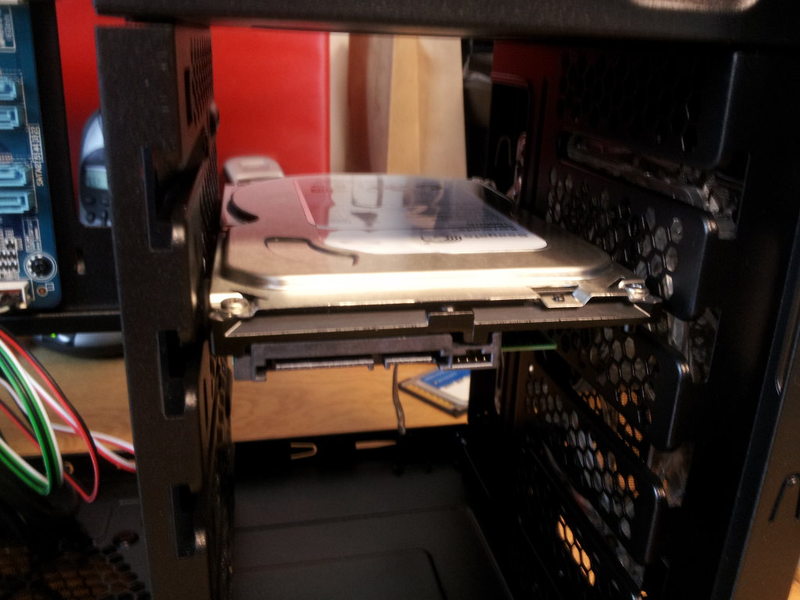
And I chose a Seagate Barracuda 1TB for general data. I quite like the design of the "tool-less" installation. It's tool-less in the fact you do not need to remove screws to get the hard drive out. It's not-so-tool-less in the fact you have to screw bits to the hard drive. It all fits together nicely, though, with a reassuring "clunk".
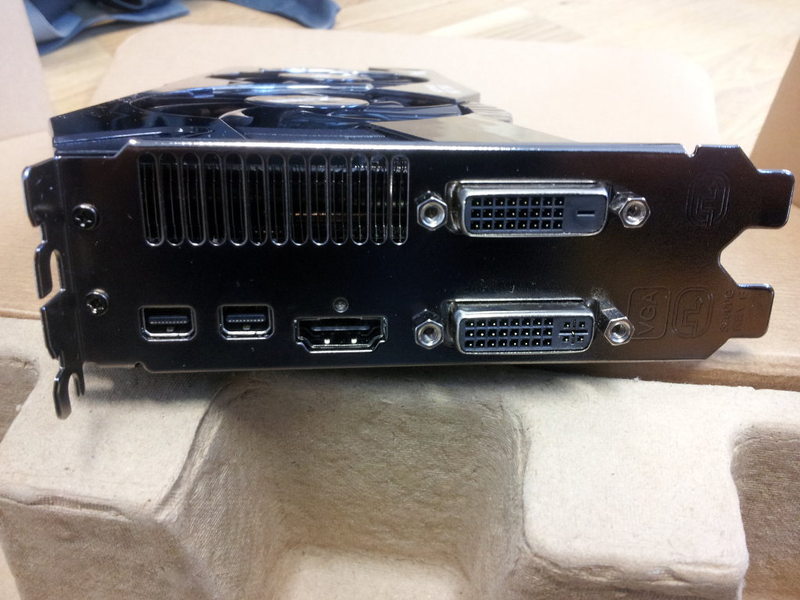
One of the main points of this build was so that the client could view up to 4 screens at the same time. There are various ways of doing this including an external box as a sort of splitter, or using two or more regular video cards inside the computer. I opted for a simpler approach - one internal video card to do everything. I chose a Sapphire Radeon HD7950 Flex. Although this card is very capable compared to those you would normally find in a pre-built system, we didn't go over-the-top; powerful gaming was not required from this build.
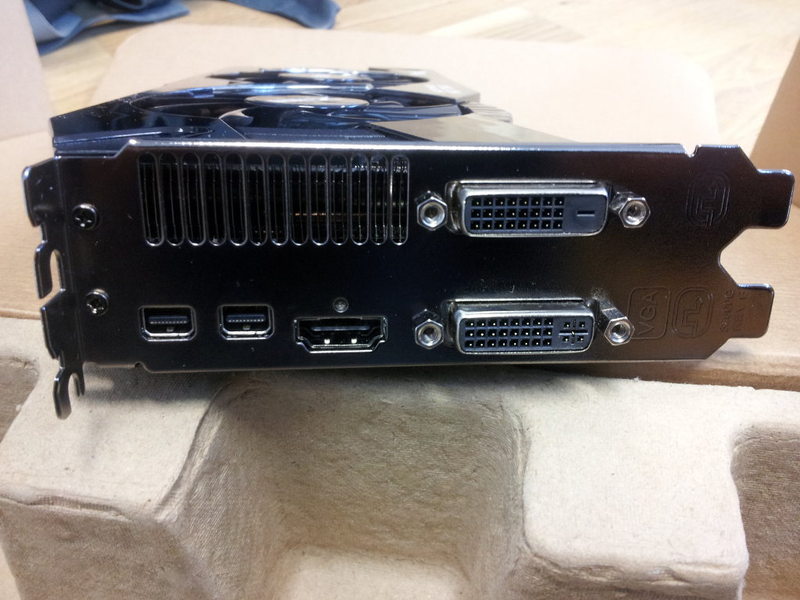
As you can see it has two DVI ports, an HDMI port and two DisplayPorts. In the package are a host of leads and adaptors - one of which an HDMI-to-DVI adaptor which was used for the third screen. A DisplayPort-to-HDMI adaptor lead was additionally purchased to utilise a fourth screen. Clearly due to the size of the card a decent size chassis is required - it takes up a lot of room and is a good idea to have a decently cooled chassis.
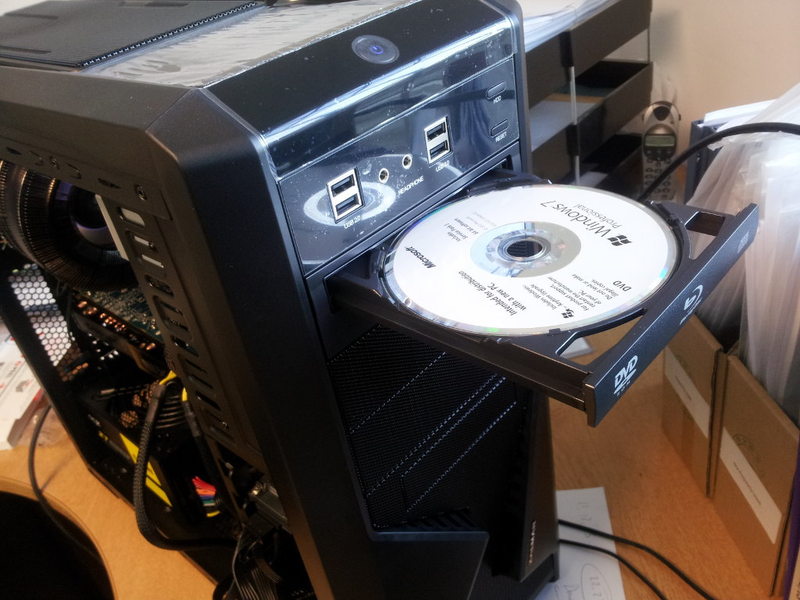
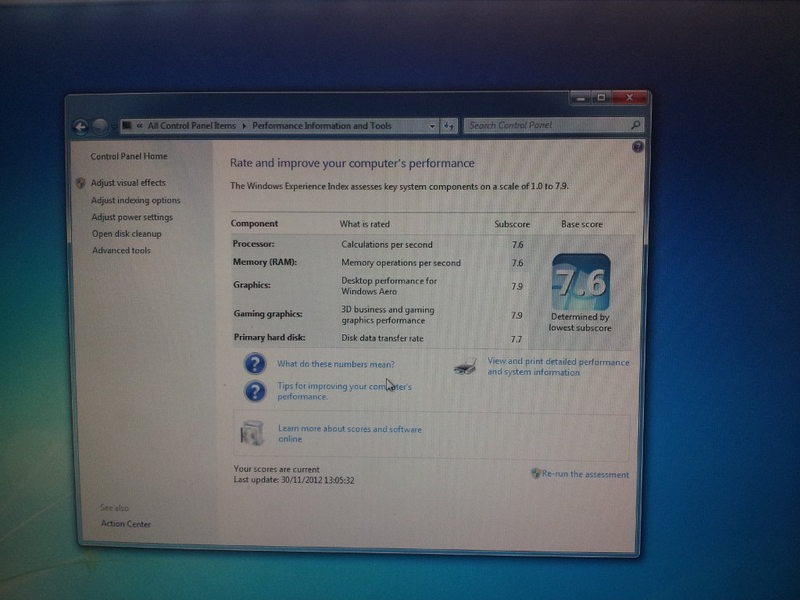
With the RAM, DVD drive and everything plugged in it's ready to start the install of Windows - in this case Windows 7, as it was known to be compatible with the client's fairly unique software. Of course this is not the definitive way to measure performance, but a quick test after installing Windows shows it is along the right lines - 7.6 scored out of a potential 7.9.
We like to keep cables as neat as possible. Of course all cables should be secured and out of the way of the cooling fans, but we also consider airflow. It also looks more professional and that a bit of effort has put in if it looks right. Not the final revision but this was getting there:
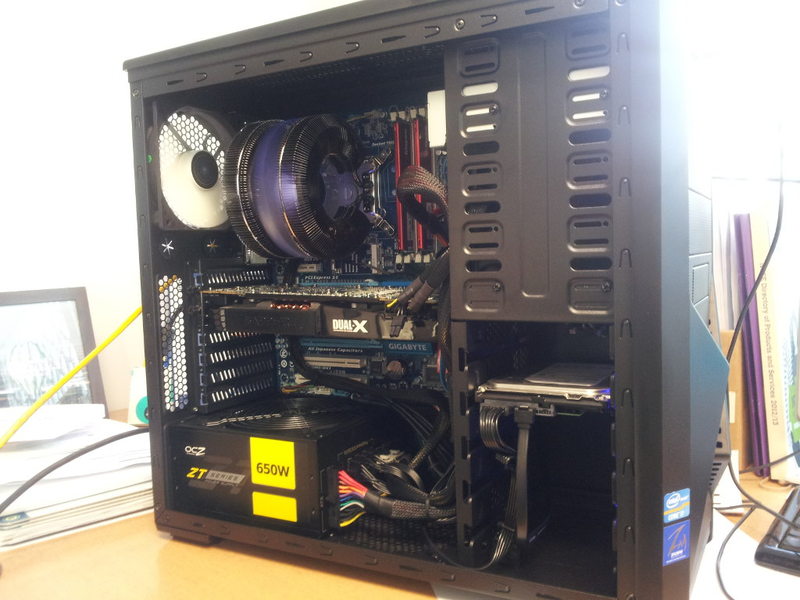
So there we have it: an example of a custom build PC from AJ Computing. If you would like us to quote for a custom built computer or perhaps you want to pick our brains on something, feel free to contact us.
Alex Collard
System Builder
Specification of above build
- Chassis: Zalman Z9
- PSU: OCZ-ZT650W-UK ZT Series 650W 80+ Bronze Fully Modular
- Mainboard: Gigabyte GA-Z77-D3H
- Processor: Intel Core i7-2700K 3.50GHZ
- Processor cooler: Zalman CNPS 9900 Max
- RAM: Kingston 16GB HyperX Red (2 X 8GB) KHX16C10B1RK2/16 1600MHZ DDR3 NON-ECC CL10
- Video card: Sapphire RADEON HD 7950 3GB GDDR5 FLEX PCI-E 2XDVI HDMI 2XM-DP + Sapphire Active DisplayPort to SL DVI Cable (for fourth screen)
- Hard drives: OCZ Vertex 3 VTX3-25SAT3-90G SATAIII 90GB Solid State Drive
Seagate Barracuda ST1000DM003 1TB SATA 3.5IN 7200RPM 64MB 6GB/S - Optical drive: LiteOn IHOS104-06 4x Internal BD-ROM Blu-ray
- Operating system: Windows 7 Professional 64-Bit
